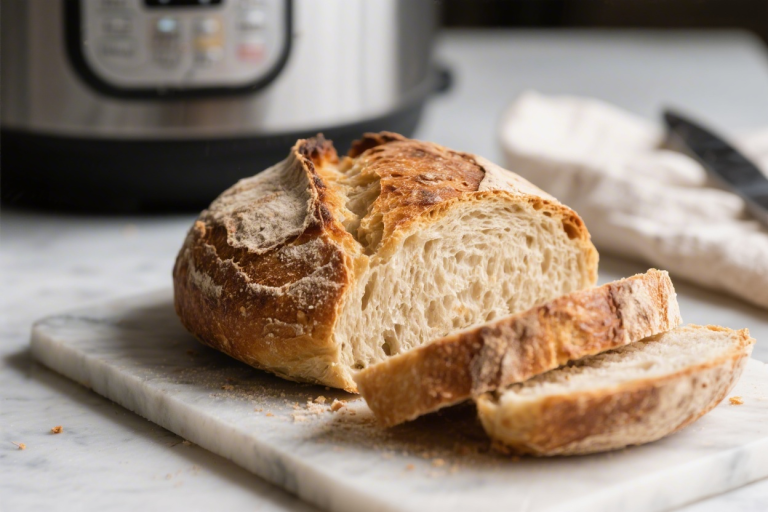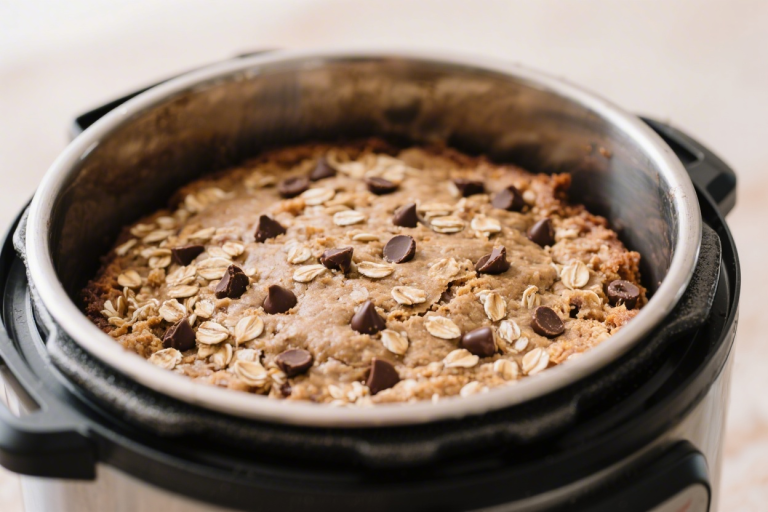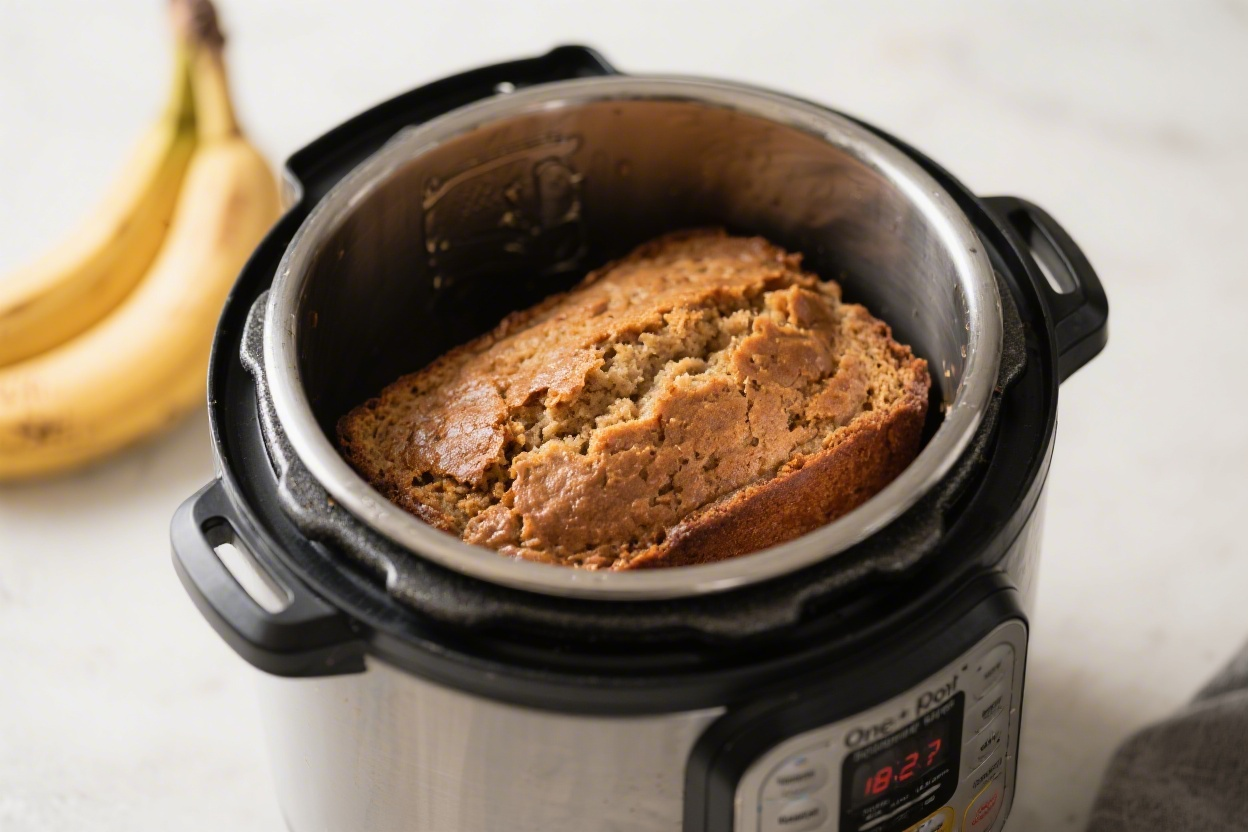
Hot & Delicious One‑Pot Brown Butter Banana Bread
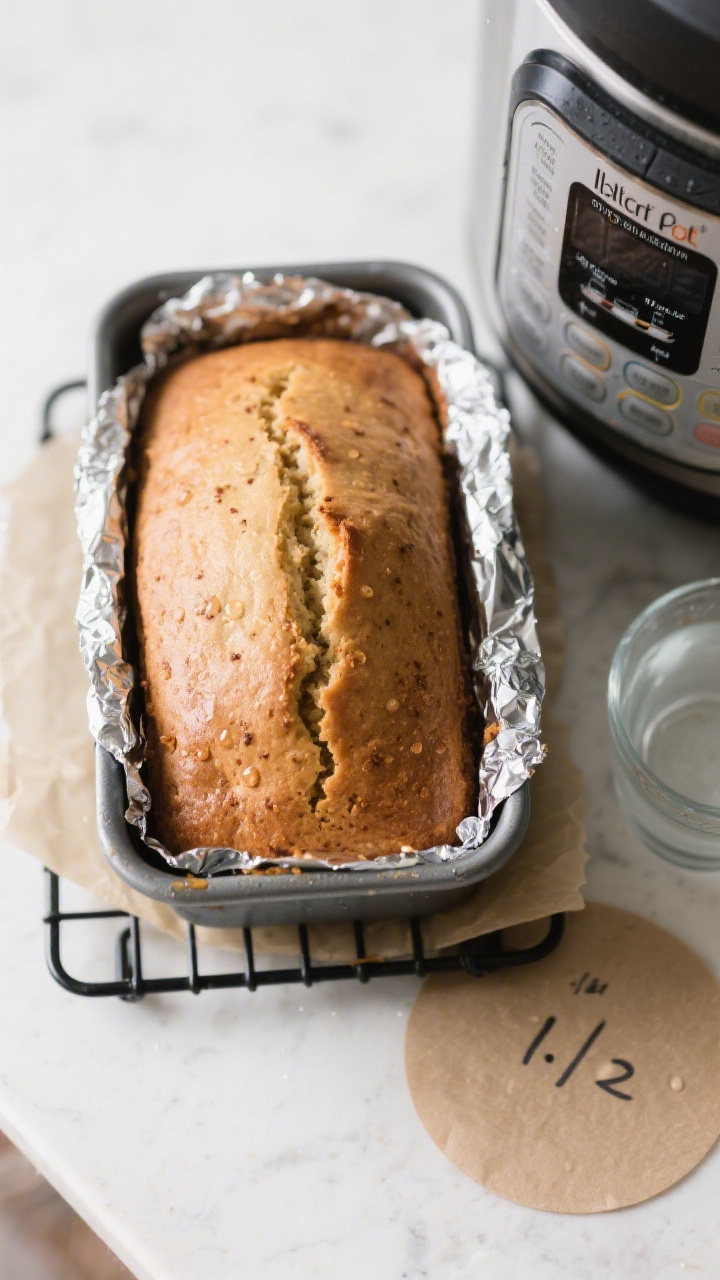
If your mornings feel rushed but you still crave something warm and homemade, this one-pot brown butter banana bread is the answer. It’s rich, moist, and deeply flavorful, thanks to nutty brown butter and super-ripe bananas. The best part: you make it in a pressure cooker, right in the pot, with almost no cleanup.
No oven, no fuss, just a tender loaf you can slice and serve in under an hour. It’s the kind of recipe you’ll keep on repeat when life gets busy and bananas start to spot.
What Makes This Recipe So Good
- One-pot method: Brown the butter and mix the batter in the same pot insert, so you keep dishes to a minimum.
- Moist and tender: Pressure cooking traps steam, giving banana bread a plush, cake-like crumb that stays fresh for days.
- Brown butter flavor: Toasty, caramel notes make this taste like you worked way harder than you did.
- Weekday-friendly: From start to finish, you’re looking at about 45–55 minutes, most of it hands-off.
- Reliable: The method is forgiving, even if your bananas are extra soft or you swap in different flours.
Ingredients
- 4 tablespoons (55 g) unsalted butter (for browning)
- 3 very ripe bananas (about 1 1/4 cups mashed)
- 1/2 cup (100 g) granulated sugar
- 1/4 cup (50 g) brown sugar (light or dark)
- 2 large eggs, room temperature
- 1/4 cup (60 ml) milk (dairy or unsweetened non-dairy)
- 1 teaspoon vanilla extract
- 1 1/2 cups (190 g) all-purpose flour
- 1 teaspoon baking soda
- 1/2 teaspoon fine salt
- 1 teaspoon ground cinnamon (optional but nice)
- 1/2 cup chocolate chips or chopped nuts (optional)
- For the pot: 1 1/2 cups water (to create steam in the pressure cooker)
- Nonstick spray or butter (for greasing the pan)
Instructions
- Prep the pan: Grease a 6–7 inch round cake pan or loaf pan that fits inside your pressure cooker. Line the bottom with parchment for easy release.Set aside.
- Brown the butter: Set your pressure cooker to Sauté (Normal). Add the butter to the stainless-steel insert. Cook, stirring, until the butter foams and turns golden with brown specks and smells nutty, 3–5 minutes.Turn off Sauté and let it cool 2 minutes.
- Mash the bananas: In a bowl or on a plate, mash the bananas until mostly smooth with a few small lumps.
- Mix the wet ingredients in the pot: To the slightly cooled brown butter in the insert, whisk in granulated sugar, brown sugar, mashed bananas, eggs, milk, and vanilla. Stir until combined. If your insert is very hot, remove it from the base while mixing so you don’t scramble the eggs.
- Combine the dry ingredients: In a small bowl, whisk flour, baking soda, salt, and cinnamon.Add this to the pot and fold gently with a spatula just until no dry streaks remain. Do not overmix.
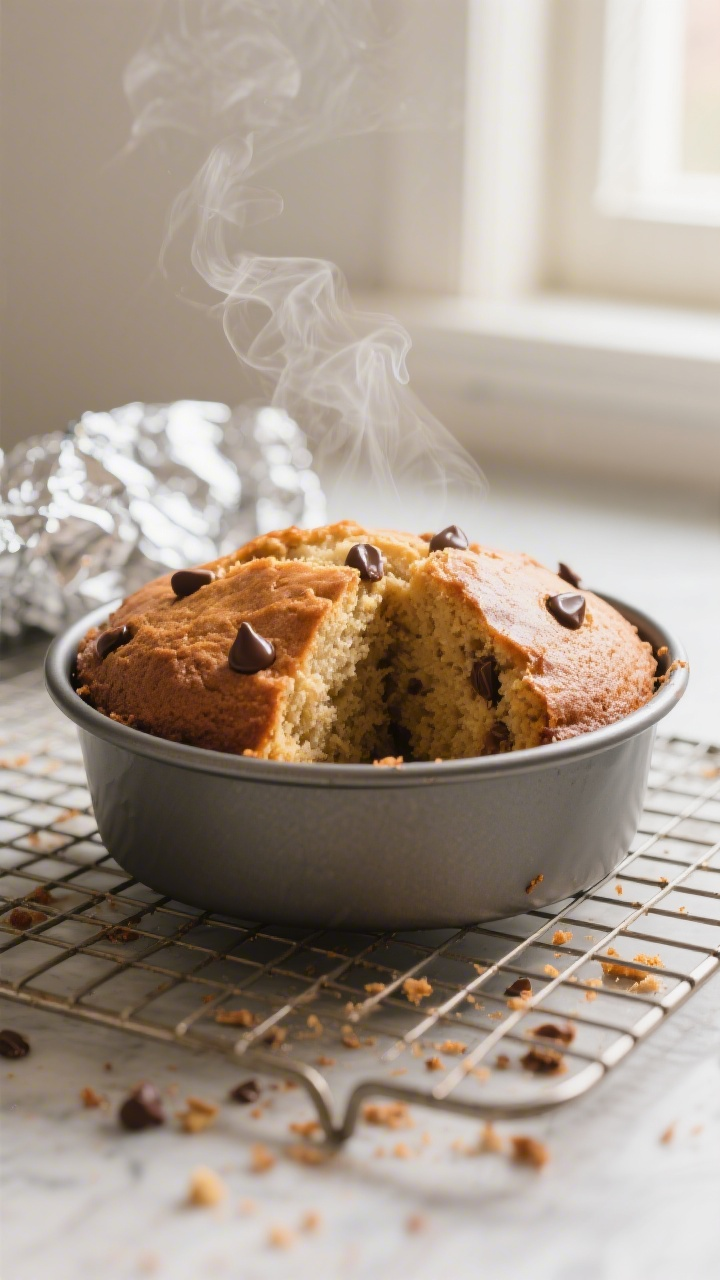
- Add mix-ins: Fold in chocolate chips or nuts if using. The batter will be thick and glossy.
- Fill the pan: Scrape the batter into your prepared pan and smooth the top.Cover the pan tightly with foil to prevent condensation from dripping onto the batter.
- Set up the pressure cooker: Rinse out the insert if needed, then pour in 1 1/2 cups water. Place a trivet inside. Carefully lower the covered pan onto the trivet using a sling or the trivet handles.
- Pressure cook: Seal the lid and set to High Pressure for 45 minutes.When the cycle ends, let it naturally release for 10 minutes, then quick release any remaining pressure.
- Check doneness: Lift out the pan. Remove the foil and test the center with a toothpick. It should come out with a few moist crumbs, not wet batter.If needed, re-cover and cook 5–8 minutes more under pressure with a quick release.
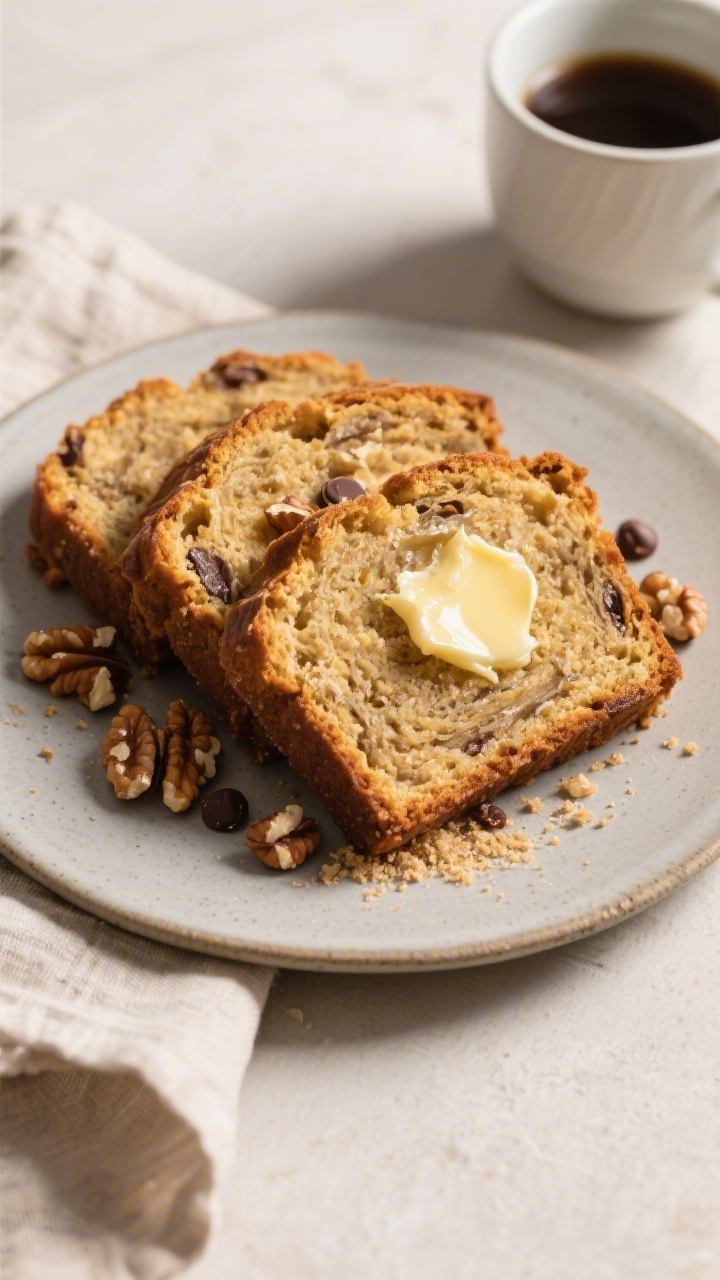
- Cool and serve: Let the bread cool in the pan 10–15 minutes, then loosen the edges and turn out onto a rack. Cool another 10 minutes before slicing. Serve warm or at room temperature.
Storage Instructions
- Room temperature: Wrap tightly or store in an airtight container for up to 3 days.It stays moist.
- Refrigerator: Keeps well for 5–6 days. Warm slices in the microwave for 10–15 seconds for best texture.
- Freezer: Wrap individual slices in parchment, then foil, and stash in a freezer bag for up to 3 months. Thaw at room temp or microwave from frozen in short bursts.
Benefits of This Recipe
- Time-saving: While it cooks, you can pack lunches, make coffee, or get ready for the day.
- Low mess: One pot plus one pan means quick cleanup, even on a weekday.
- Consistent results: Moist heat reduces the risk of dry or overbaked edges.
- Budget-friendly: Uses pantry basics and gives those spotty bananas a second life.
- Kid-approved: Mildly sweet and soft, perfect for breakfast or snacks.
What Not to Do
- Don’t skip the foil cover. Without it, condensation can make the top gummy.
- Don’t overmix the batter. Stir just until the flour disappears to avoid a tough loaf.
- Don’t use unripe bananas. You’ll miss out on sweetness and flavor.Heavily speckled is best.
- Don’t cook directly in the insert. You need a separate pan on a trivet so the bread steams evenly.
- Don’t rush the cool time. Slicing too soon can make it crumbly and squashed.
Variations You Can Try
- Maple walnut: Swap half the granulated sugar for maple syrup and fold in chopped walnuts. Add a pinch of nutmeg.
- Chocolate swirl: Stir 2 tablespoons cocoa powder into 1/3 of the batter. Swirl it through before covering with foil.
- Blueberry banana: Fold in 3/4 cup fresh or frozen blueberries (no need to thaw).Add lemon zest for brightness.
- Whole-wheat boost: Replace 1/2 cup of the all-purpose flour with white whole-wheat flour. Add 1 extra tablespoon milk if needed.
- Dairy-free: Use coconut oil or vegan butter and a non-dairy milk. Still brown the vegan butter if it’s designed to brown; otherwise just melt.
- Seed crunch: Sprinkle the batter with pepitas or sesame seeds before covering for a subtle crunch.
FAQ
Can I make this without a trivet?
You really need a trivet or rack to keep the pan above the water.
If you don’t have one, create a DIY ring with several layers of foil shaped into a coil, or use canning jar rings arranged in a circle.
What if I only have two bananas?
Use the two bananas and add 1/4 cup unsweetened applesauce or yogurt to make up the moisture. The bread will still be tender and flavorful.
How do I know my butter is properly browned?
It should smell nutty and turn golden with toasty brown specks on the bottom of the pot. Pull it off the heat as soon as it reaches that color to prevent burning; it will continue to darken slightly as it cools.
Can I reduce the sugar?
Yes.
Reduce the granulated sugar to 1/3 cup and keep the 1/4 cup brown sugar for moisture and flavor. The bananas still provide sweetness, especially when very ripe.
Will this work in a 3-quart pressure cooker?
Yes, as long as your pan fits with some space around it and you can close the lid properly. You may need a 6-inch pan and slightly reduce cook time by 3–5 minutes, checking doneness and adding more time if needed.
Can I skip the parchment?
You can, but parchment helps ensure a clean release.
If skipping, grease the pan thoroughly and dust with a little flour or sugar.
How do I reheat slices without drying them out?
Microwave a slice for 10–15 seconds with a small cup of water in the microwave to keep the air moist. Or warm it in a skillet with a dab of butter for a toasty edge.
Why did my bread sink in the middle?
It was likely undercooked or the batter was overmixed. Next time, cook 5–8 minutes longer and fold the dry ingredients gently just until combined.
Can I add protein powder?
Yes, replace 1/4 cup flour with 1/4 cup whey or plant-based protein.
Add 1–2 tablespoons extra milk if the batter seems too thick, and avoid overmixing.
Is it safe to use foil in the pressure cooker?
Yes, covering the pan with foil is standard for pot-in-pot desserts and breads. It keeps condensation off and doesn’t affect safety when used properly.
In Conclusion
This one-pot brown butter banana bread is built for busy mornings. You get the cozy, bakery-style flavor you love without turning on the oven or dirtying a sink full of dishes.
The pressure cooker keeps it consistently moist, and the brown butter makes it taste special. Keep a few ripe bananas on the counter, and you’re never more than an hour away from a warm, comforting slice. It’s a simple routine upgrade you’ll look forward to all week.
Printable Recipe Card
Want just the essential recipe details without scrolling through the article? Get our printable recipe card with just the ingredients and instructions.